This post showcases a diorama I created for a recent play through of Brendan LaSalle’s classic DCC funnel, “Hole in the Sky.” I have tried to avoid sharing details regarding major plot points whenever possible, but I do reveal a significant portion of the map. If you have not played this module, you may wish to return to this post once you have.
While other adventures have dungeons or caves with multiple levels, the sheer size of this module’s prison is quite unique. To complete “Hole in the Sky,” players need to scale nearly 200 feet of the prison’s narrow interior wall. As such, it offers a challenge for communicating the layout to players. Although I could have easily drawn multiple different sized rectangles to illustrate passageways, I didn’t feel like that properly conveyed the scale of the upward trajectory. And so, I decided to try another approach. I made my first tabletop prop.
This creative endeavor was inspired by Tine Fieldling’s YouTube channel. (If you have not seen any of her videos, I highly encourage you to binge her channel. Regardless of whether you plan to make any props, terrain, or dioramas, she’s brilliant and deserves way more viewers.) At any rate, I recently enjoyed watching her create a walking pirate ship for a design competition. Tine noted (rather modestly) that she wasn’t sure she could beat her competitors in skill, so she would have to beat them with the quality of her idea. This was very encouraging to me, as someone whose artistic talents are frankly underdeveloped.
My original intent was to simply create the prison (Fig. 1). I wanted to let my players feel how monstrously tall this building was as they crossed the battle map. To make the prison, I just wrapped a box with black construction paper and drew little thorns with white colored pencil. I also created a little swinging door at the bottom before remembering that players were too small to open it.
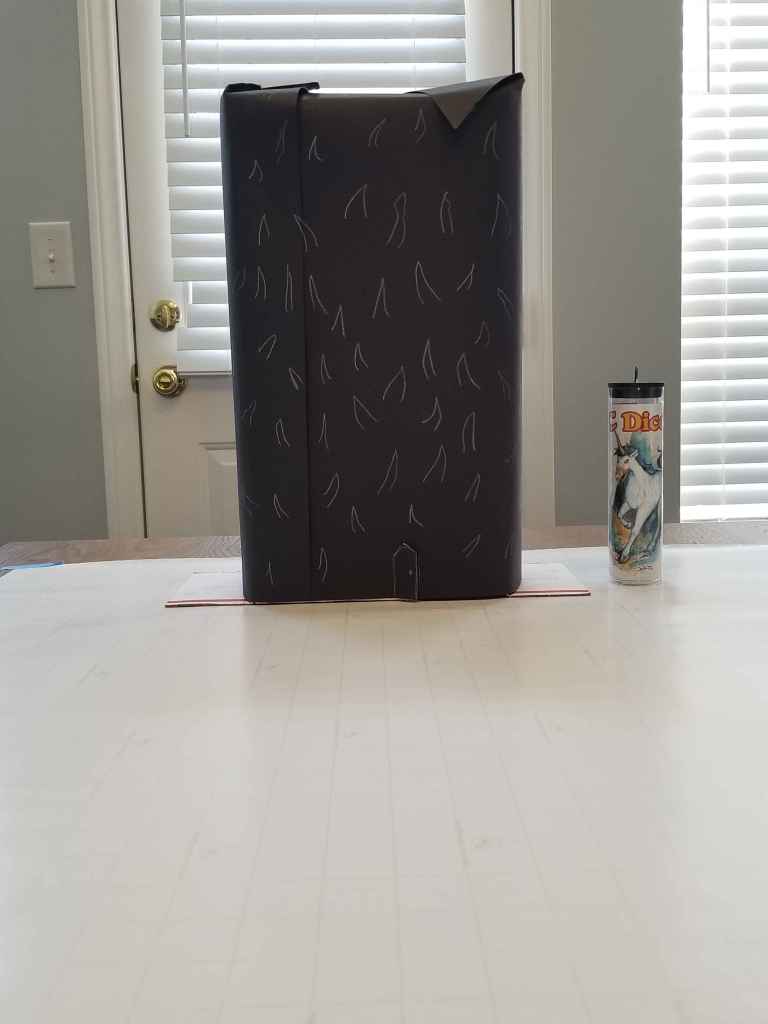
Figure 1: The prison! (Dice container for scale)
After I made this prop, I realized I could kick it up a notch by creating a diorama of the prison’s interior. Although I probably could have retrofitted my initial design, I didn’t want to accidentally destroy it in the process. Instead, I took an old oatmeal container, a few twigs from outside, and other odds and ends lying around the house. I inserted a small twig into the container to serve as the branch that Drezzta’s cage hangs from. The cage itself was made from a paper towel roll fit snugly around a Pepto Bismol measurement cap. Originally I wanted to make the titan out of some plush material, but I did not have any resources for that on hand. Instead, I settled on wrapping some aluminum foil around a minifig and drawing a face on it. To help establish the titan’s size, I added some twigs to serve as logs (Fig. 2).
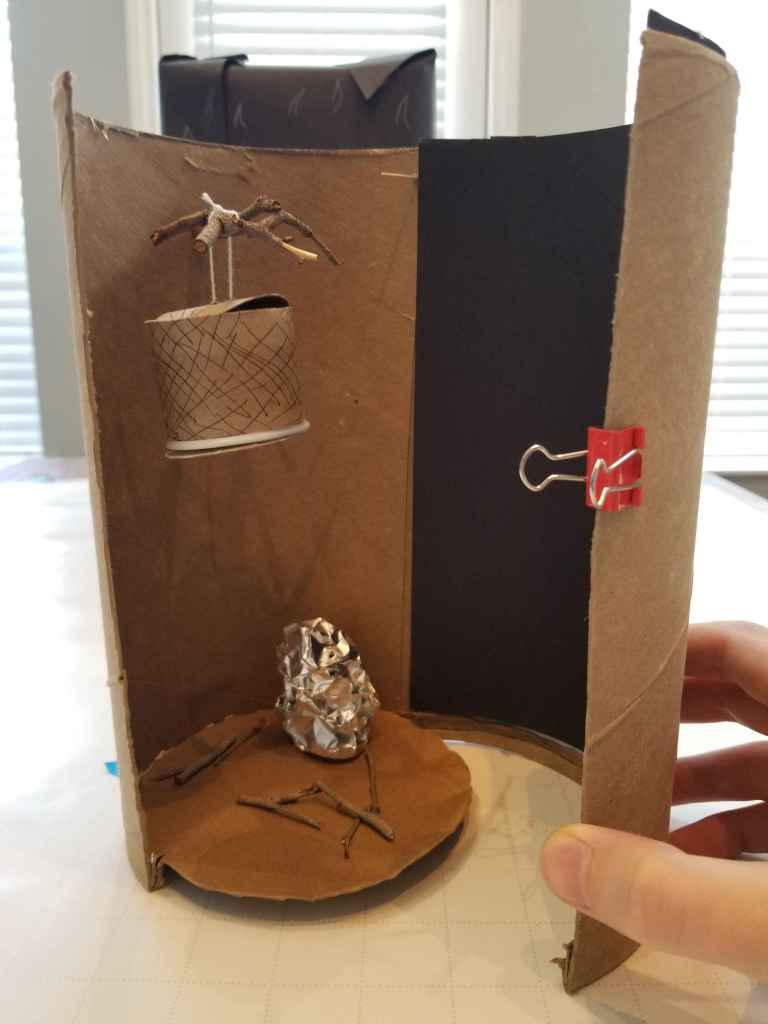
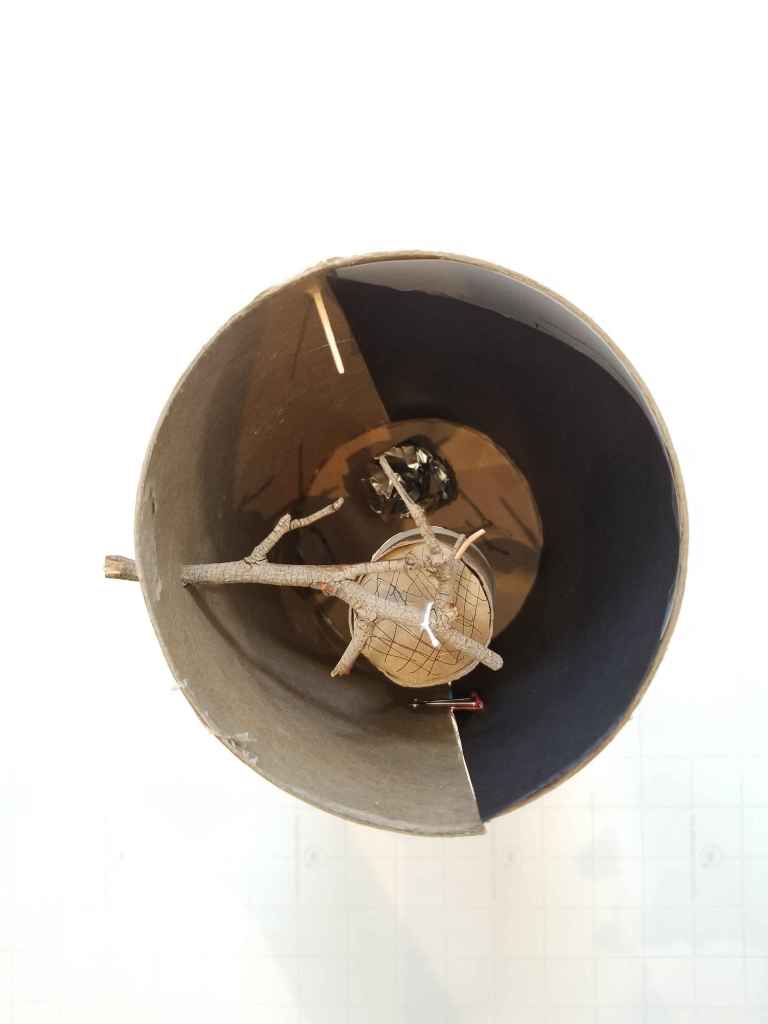
Figure 2: The open prison, as well as an aerial view.
The feature I’m really pleased with is my method for depicting the elevation. Along the interior wall I created a map of the stairs leading to Drezzta’s cage. To help maintain some uncertainty as to the map’s layout, I placed black construction paper over it, and then gradually slid the construction paper upward as players explored the prison (fig. 3). The pink sticky note depicts a secret passageway that I added to the map when players found it. The sticky note was really convenient because I could draw it in advance and slap it down when I needed it.
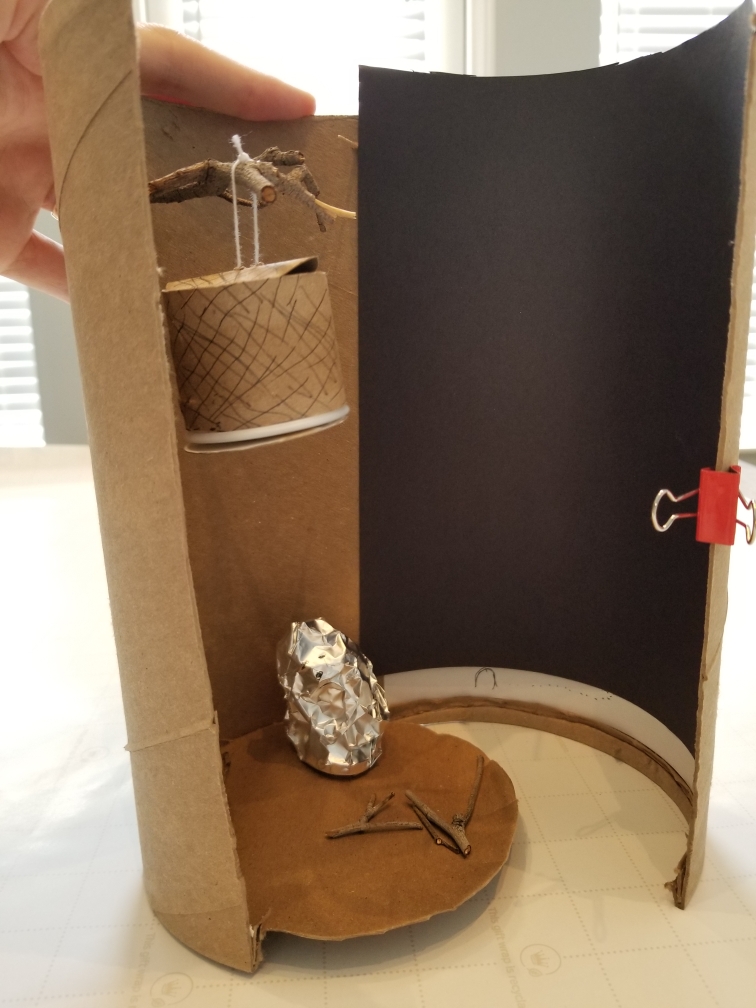
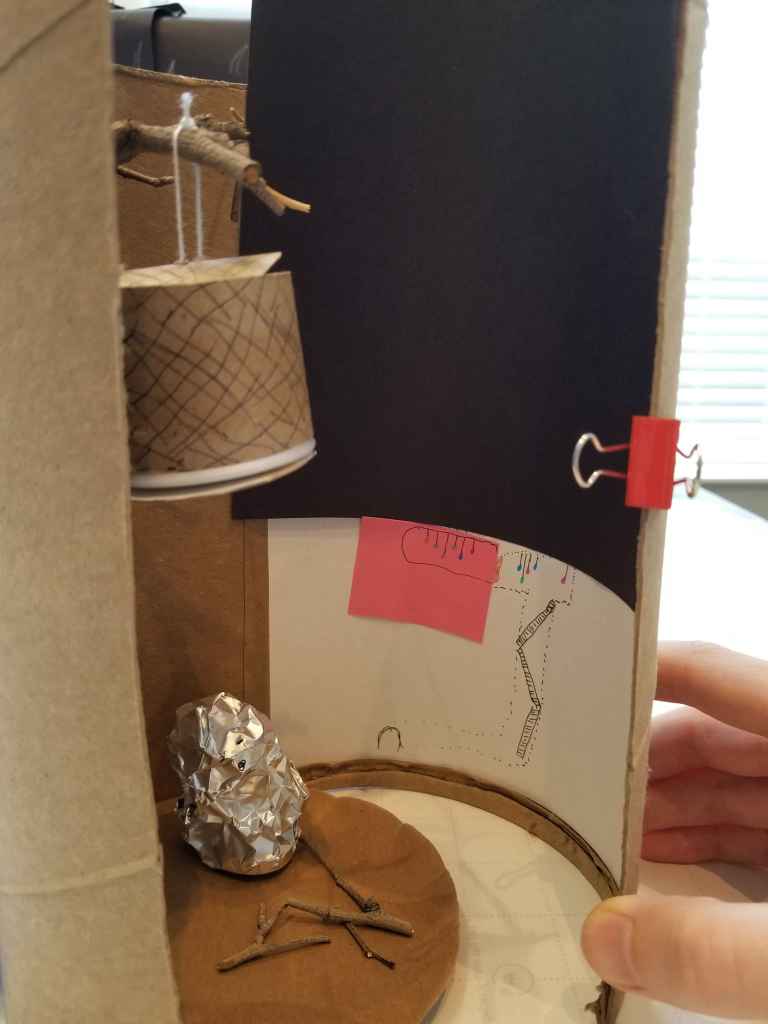
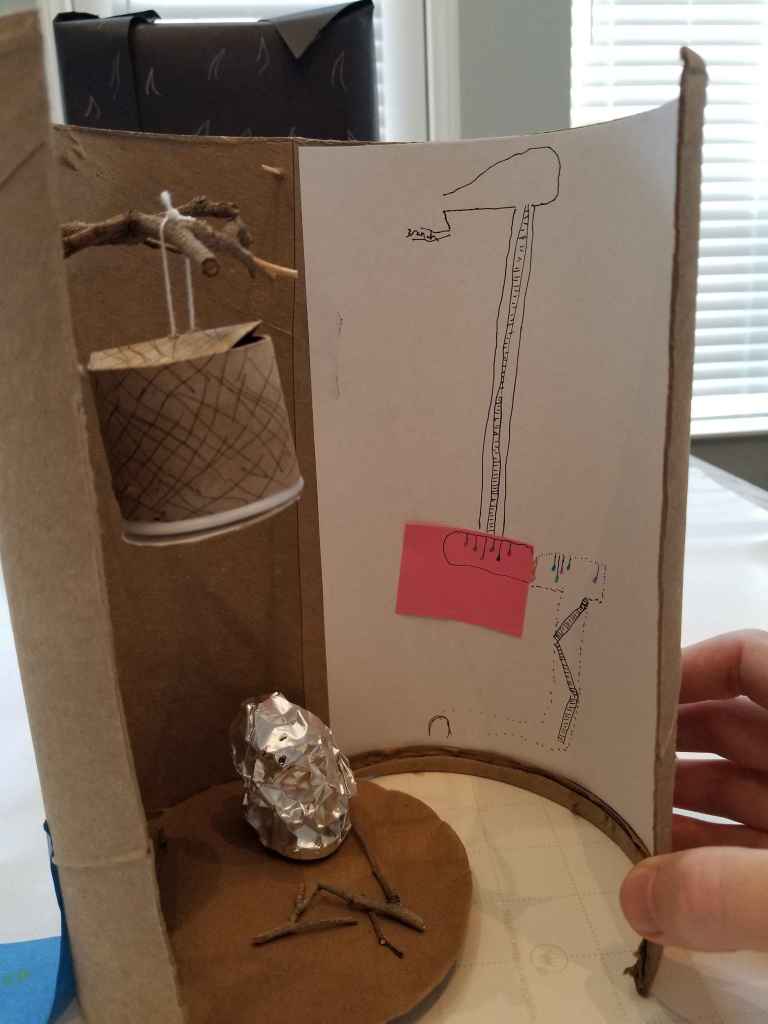
Figure 3. Slowly revealing the map.
All in all, these props led to a really memorable session. While I probably won’t create a prop for every or even most adventures, I had a lot of fun. If you have not tried your hand at creating props, terrain, or dioramas, I would give it a go. You don’t need to have a lot of resources. Really the most important thing is your imagination.
Please feel free to share your favorite prop, terrain, or diorama creators (or specific videos) in the comments! I would love to see what others are doing.

Leave a comment